

Finished Puprle Tweed and Velvet Deerstalker Hat - H69

The main fabric: a beautiful, rich purple tweed with flecks of orange and sky-blue.
Quite loosely woven.

Before transferring the pin-tuck design onto the reverse side of the main fabric, I need to use an easily removable interfacing so that I can see the design. This interfacing will also assist in keeping the fairly loosely woven tweed in shape while tracing the design with pin-tucks.

Transferring the pin-tuck design which I had sketched. This here is the design for the visors.

The transferred design now appears in yellow dotted lines.

This has to be done x 10 (+2 for the flaps which are not shown in this image.

Now each of these designs has to be hand basted so it is visible on the right side of the fabric where the pin-tucks will appear.

Again: x 10 (+2)
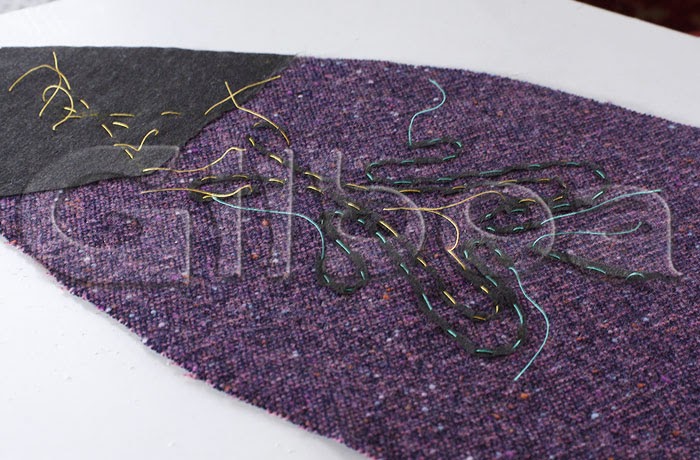
The black interfacing now has to be removed, otherwise the fabric would be too thick to raise with pin-tucks. Leaving only a little left on each side of the basted stitches for stability. Again, this has to be done for each piece.

Finally I am ready tracing to trace the design with pin-tucks ...

The fabric raises nicely; here one finished design.
Pin-tucking will 'shrink' the fabric which is why the individual pieces have to be cut over-sized to allow for the loss of width and length.

All 10 pieces of main fabric with their completed designs, ready to be cut into their actual shapes.

One by one, the pieces are joined together.
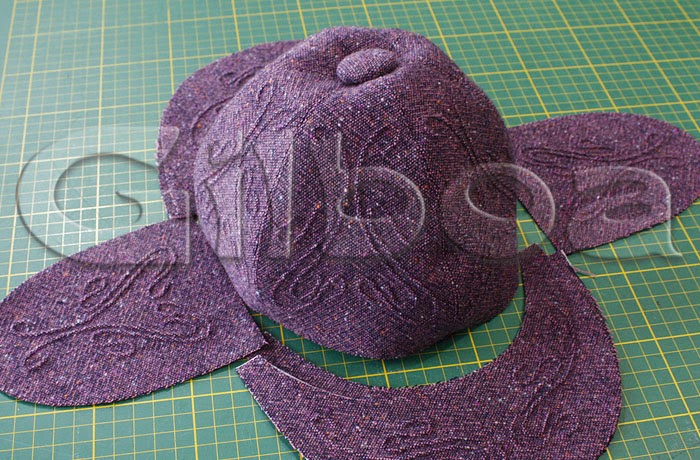
The hat is solwly taking on shape.

I finally decided what material to use for the inner flaps. Using tweed would not feel comfortable on the skin when the flaps are folded down. I chose a very lush, navy velvet.

Here too, tracing the design with pin-tucks. The effect is great on velvet!

The visors ... there are of course two.

Last check to see whether I am still happy with the material choice ...

The flaps are finished and ready to be joined with the main part.

Still, one more final check ....

Not to forget the lining, a beautiful, floral cotton (tana lawn).
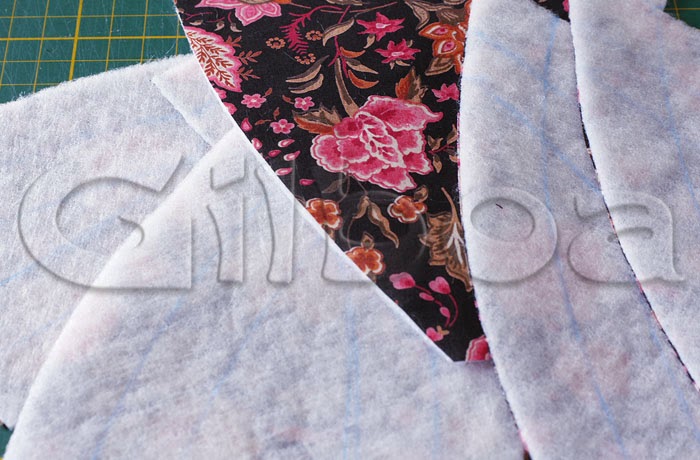
Each piece needs to be padded ... in blue the lines I had just drawn for stitching ...

The padding has been added ...

The lining is ready to be inserted ...

The lining is pinned into place. I then hand-stitch along the edges of the hat band so it is neat and tidy.

And finally, I baste it all into place for the final stitching wich will be seen on both side.
There are some further steps to follow but they are not documented here due to lack of time.
It was yet again most satisfactory to work on this piece and see the end result!


